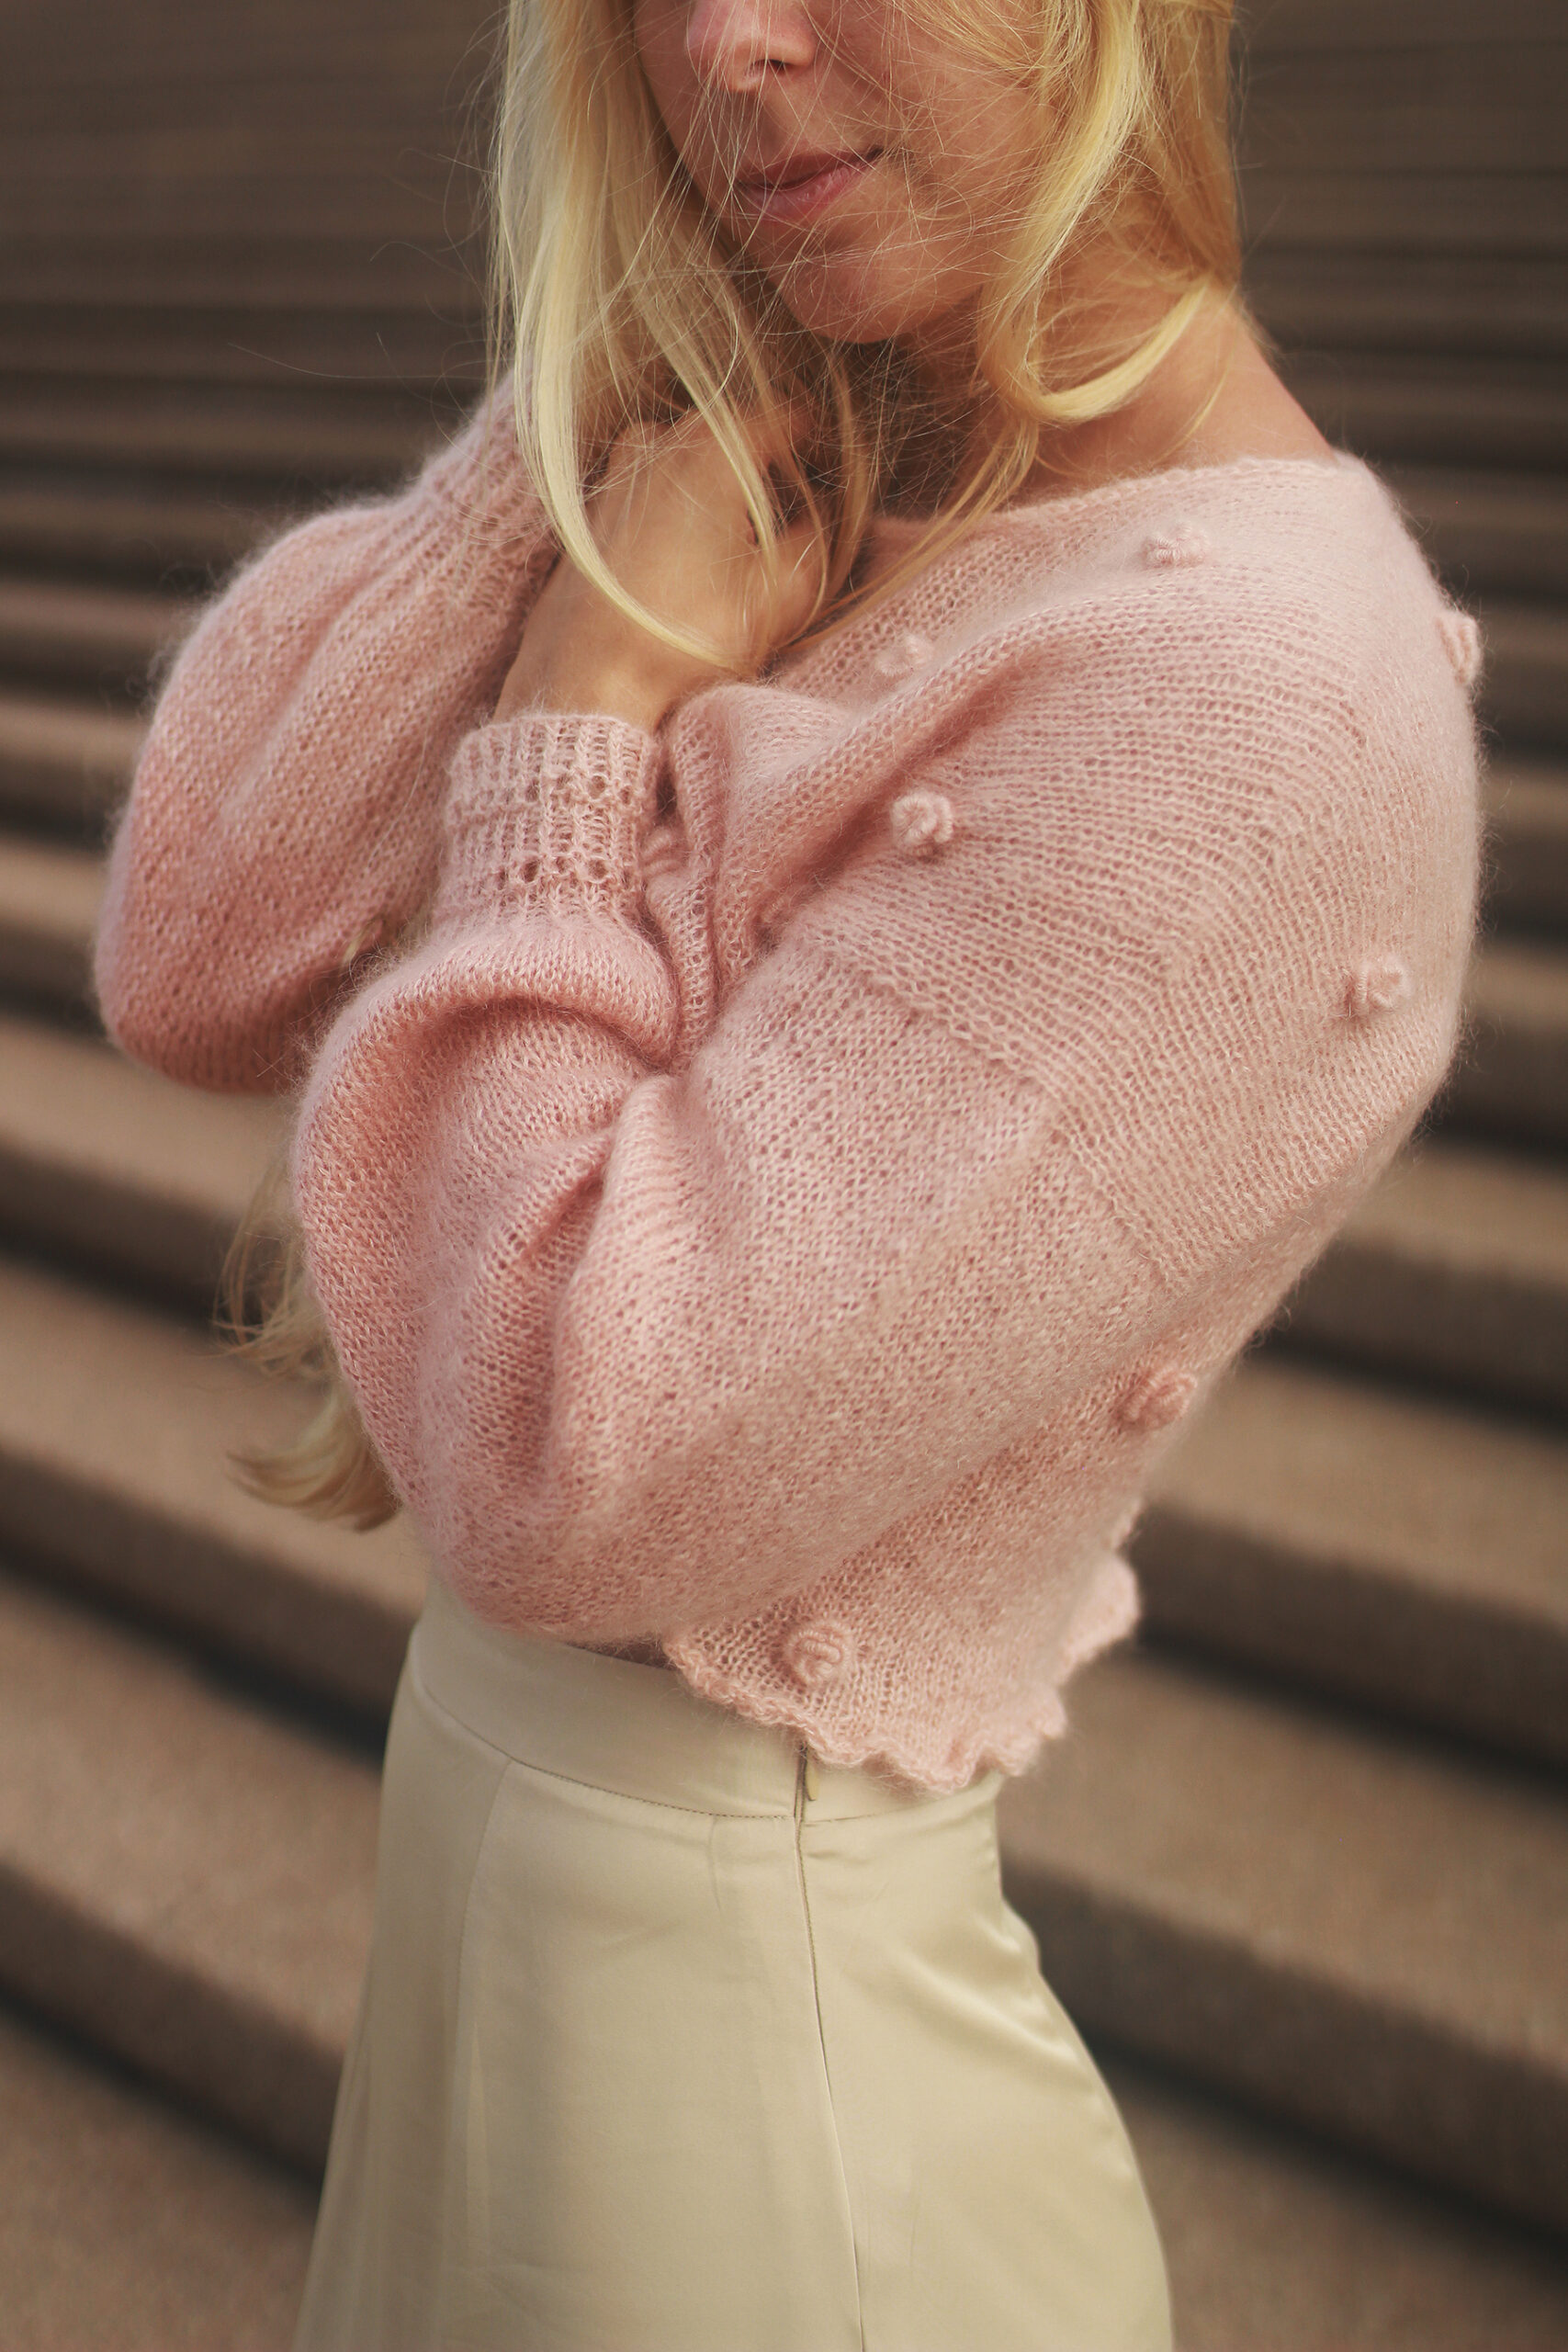
Welcome to a post dedicated to Filigree Cami, one of the designs from my Sydney Summer Knits ebook! If you need extra help in making your own version or want to know more about summer knits in general, it’s an article for you!
Once my first summer knitalong ended, I decided to gather all the valuable tips, videos and tutorials I shared with the event’s participants and put it in one post to provide advice and help to all the knitters. I hope you will find it useful!
You can find detailed information on how to make, style and even modify this summer knit in the ebook (100 pages full of valuable and interesting content!), which you can buy in my Ravelry or Payhip store. But in this post I will share all the extra resources that may help you work with Filigree Cami pattern and make your knitting smooth and trouble-free. Enjoy!
Article content:
- Yarn and fabric properties.
- How to make “a bobble”.
- How to modify.
- I-cord edge and side stitches pick up.
- Blocking.
Yarn and fabric properties
When it comes to choosing the yarn for the Filigree Cami, consider fabric lightness first. This cami should remain delicate and airy. Elasticity isn’t important here, so this design, even though it’s also made from lace patterns, requires a different approach than Woollahra Tee.
Knitting for Olive Pure Silk, the yarn I used in my version, has 250 meters per 50g, making it a light fingering yarn. It’s 100% bourette silk, so it’s not as slippery or perfectly smooth as mulberry silk. This yarn provides a matte finish rather than a shiny one. The thread has small protruding bits that add texture and help fill the space between stitches, making the fabric opaque. All these features give us a light, thin, and non-transparent fabric that drapes well. The lace stitch pattern used in the Filigree Cami looks pretty good when made from this slightly textured, rustic-looking thread. In my opinion, such yarn gives it a Renaissance vibe. Take a closer look at Pure Silk:
The neckline in Filigree Cami requires a non-stiff, flowy, and thin fabric that moves with the body. This cami should feel like a second skin. Stiffer and spongier fabric can be quite uncomfortable around the neck, and there’s a chance it will stick out instead of flowing around the chest and adapting to movements, revealing too much.
In this video I show you how the fabric looks like and behaves and that it is not transparent at all, even though the gauge is only 22 sts/10cm. Notice that the straps are not susceptible to stretching:
Even though this long symbol at the bottom covers 4 stitches, you should work it once, at the place indicated by number 3.
Watch a video below to see all the steps:
How to modify
I love this design in particular for its versatility and being easy to adjust to our preferences. I have been dreaming about such a fine and intricate cami with an open back that provides not only comfort and freshness but also gives me confidence and makes me feel fabulous!
The construction of Filigree Cami makes this design surprisingly easy to modify! It is created from three pieces, which can be modified separately to achieve a slightly different look and features. But before you start adjusting it to your needs, you need to understand the construction and find out how those pieces work together and also depend on each other.
WIDTH
The cami is made of FRONT, BACK PANELS and SIDE PANELS. The proportions established in the pattern assume that the FRONT is approximately the same width or slightly wider then BACK and both SIDES together.
When changing the width of any of those pieces, or mixing the sizes, you must keep in mind that
A1 = A2 OR A1 > A2, however the difference should not be significant:
I do not recommend making the back + side wider than the front. It will not work well as in such case, the front will not wrap the sides of your bust properly.
So as you can see, you may make a wider back, just remember to modify the length of the sides accordingly.
Tip
Slightly narrower back + side than front will keep the front closer to your body. However, if the width difference is too big, the back will pull the fabric, making the cami uncomfortable to wear.
LENGTH
When mixing the sizes or changing the length of the project always make the front and back panels with the same number of chart repetitions. You may notice that I did not say “the same length” and here is why!
The back panels are made straight, with no decreases or increases. The front is shaped at the top so its sides are inclined inwards to get a trapezoid form. Even though front and back have the same number of chart repetitions (for instance 7), the pieces do not have the same height – it’s Pythagorean theorem. Go on, call me a nerd! Front is always a bit shorter, and this is exactly what we want to have a comfortable neckline.
Plan the length modification before you start working with the pattern. You should never change the length after starting decreasing the stitches at the front (the part marked as C), do this ALWAYS before that step (the part marked as B). Otherwise you will not finish your front at the end of the last chart repetition but somewhere in the middle, which will not get you the best look. Or you will get the top part of the front too long or too short.
Important
Change the length by adding or subtracting the number of full chart repetitions both to the front and to the back pieces.
SIDES
You can skip shaping the side panels if you want more cover at the back. I cannot promise that starting to pick up the stitches for the sides higher than provided in the instruction will look good – the side panel starts exactly where the decrease at the front begins. If we pick up stitches higher, the sides may start pulling the inclined fabric, disfiguring the front. Instead of that, I would shorten the straps which will definitely reduce the room under arms and/or choose the smaller size adjusting the length of the cami only.
Remember that length modification of the back and front requires modification of the picked up stitches for the sides. Always pick up stitches from the bottom to the place where the decrease at the front begins.
OTHER IDEA
You may find it interesting to make the cami… symmetrical! If you are not very into lace, make the back the same way as the front! I think it may look pretty good!
But no matter what mods you want to do in this project, always start with a sketch! Make a quick drawing and write all new values so you can check if they all work together.
I-cord edge and side stitches pick up
I prepared a video to show you how the I-cord edge in Filigree Cami should look like along the sides. As the pattern says:
Do not pick up the stitches from the I-Cord. The first column is made from the purled stitches on RS, so when picking up on WS they should be knitted. Take your time when locating the correct stitch and make sure your I-Cord remains free.
Watch this video to check what we are aiming for:
Blocking
Read my article The gist of blocking your knits to learn more about the purpose and general rules of blocking. I believe it will help you to understand the process.
Watch this short video to find out how to block your Filigree Cami successfully:
Blocking instruction:
Block it with the back facing you – this way you have full control on the back lace panels while still being able to see the front.
Fasten the buttons.
Start by flattening your cami – arrange it carefully so the I-cord edges are exactly on the sides and the bottom edges of the front and back are aligned.
Keep all the edges straight. Use lots of pins to even out the edge of the lace. Lace is more demanding in this regard, you don’t want a scalloped edge. The more pins the better.
Ensure you keep the lace panels at the same width along their whole length – where they’re attached to the sides, and above.
Do not try to align the upper back and front edges – back is higher than front.
Measure your cami, checking if you achieved symmetrical lengths. Rearrange the pins if necessary.
About Sydney Summer Knits collection
Sydney Summer Knits collection contains four brand-new, unique summer patterns inspired by my new home – Sydney. You will find here three tops and one dress, each design mirroring a different feature of the city. All the designs are made in style closest to my heart, which I dare to name modern romanticism.
Read articles about Darling Dress, Seasalt Tank and Woollahra Tee:
Marzena


