As a knitwear designer being sure that the project I am working on goes according to my plan is extremely important. Hours spent on knitting, are my valuable working hours so I try to keep the risk of failure to a minimum. You know very well from your own experience that any knitting project requires a considerable number of hours. They usually come from your free time, also very valuable, and to no surprise you desire to spend it in the best way, making dream pieces of garments and enjoying every single stitch. I dare say that hardly anyone wants to waste this time on unsuccessful projects. This is why I would like to encourage you to add to your knitting routine one highly effective activity, that will save your time, energy and your future happiness.
Read this post and find out why pre-blocking became my inherent companion in designing and knitting sweaters, when is the perfect moment for it and how to do it to achieve the best results!
Pre-blocking, as the name suggests, means blocking an unfinished piece of garment. Surely each of us probably knows or heard about advantages of final blocking (i.e. soaking the knitwear and shaping it while drying) – it aligns stitches, highlights texture, allows lace patterns to flourish and gets the satisfying shape of handmade garment.
The thing is, after the final blocking, you may find out that these lace patterns have “opened” too much, the texture does not match the yarn and the finished garment is two sizes larger than you planned. How often does this happen? I do not have any convincing percentages or numbers, but in my experience this is not uncommon. Such situation invariably brings us to despair – after all, we worked on this sweater for several weeks, we devoted every free moment to it, and it decided to mock us! Disappointment and frustration are all the greater the more time and energy we put into it. This is why I believe pre-blocking is of utmost importance!
My own experience

My biggest disappointment in knitting happened few years ago when I finished and made final touches one of my most classic and beloved sweater – Mélanie. During the initial try-ons, I was delighted! The knitwear was spongy, the collar stiff and thick as planned, positive ease well calculated, the length of the body just perfect! I was looking forward to the finished sweater and I was planning to take it with me on my honeymoon and there, among the Slovenian mountains, do a perfect photo session. After blocking it turned out to be much too big! It was not the project I designed – instead of a tight, cosy pullover, I got a loose, airy sweater, with a deep neckline instead of a stand-up collar and sleeves reaching far below my wrists. I had to rip everything, wash the wool and make this sweater one more time making the necessary changes. This could have been avoided.

Pre-blocking does not eliminate the chance of failure. Pre-blocking allows us to find out quickly that the project is going in the wrong direction and saves a lot of time and negative emotions. During pre-blocking our project is on hold, so it may seem that we are losing valuable time. In my opinion this is deceptive – blocking itself takes few minutes and drying takes no more than two days which you can use in a different, equally satisfying way. If you are a polygamous knitter, you can start a new project during this time, or if you are supporter of monogamy like me, just focus on other passions or work.
Today I cannot imagine my knitting without this stage. However it does not apply to hats and other small projects which take little time. I also do not pre-block shawls and scarfs (I knit them extremal rarely anyway) because few centimetres less or more in such project are not crucial. In this case all I need is a well-made swatch containing stitch patterns used in the design and regular checks of the project size.
But sweaters are a different kettle of fish. They contain plenty of variables: neckline, collar, widths, lengths, shape, pockets, cuffs and many more. If we want the sweater to turn out as we imagined, sketched in the notebook or saw in the pictures of the purchased pattern, each of these elements must be made according to plan. Sometimes a “failed” project can turn out great, but we have to consider what we really expect from knitting projects and how much we care about achieving our goal set out at the beginning.
When to pre-block?
At first we have to know when is the best moment to do pre-blocking. Every project should be treated individually, depending on the elements it contains, its construction or stitch patterns used. Think about what element (or elements) is key in your project, which variable can most affect the final result and what worries you the most. Make sure to check as many variables as possible at once and at the same time try to pre-block as quickly as possible.
You can do pre-blocking as many times as you wish, but I advise you to do it a maximum two or three times per sweater in order to maintain the right balance between being cautious and the joy of uninterrupted knitting.
To make your decision easier, I have prepared a general list of key elements that should be checked while knitting a sweater:
- length of body/yoke/sleeves
- chest circumference – this variable strongly influences the end result and the final look and style of the garment
- shoulder width – in some constructions it also affects sleeve length! If the shoulder width increases after blocking, the joining line of sleeve and body will fall lower then planned.
- depth and shape of neckline – unfortunately this element tends to stretch too much after blocking
- circumference of sleeve openings
- plackets and decorative edges
- waist shaping – to achieve the best result the narrowest place on the sweater’s body should be located exactly on our waist
- unusual stitch patterns, colorwork and detailed lace patterns, especially their combination. If you are not sure how the stitch pattern will look in your finished garment, be sure to pre-block
In most cases I do the first pre-blocking when I reach about 5 centimetres below joining of front and back or separation of the raglan on sleeves and body parts. Of course it is about sweaters made top-down. This moment is crucial for me because:
- I have already reached proper length to be able to judge the depth and width of the neckline – too short piece will not give me a credible answer
- I can take a look at the shoulder lines and make sure they are laying nice on my body – pre-blocking of the front only, without joining it with the back part will not tell me anything. I also gain confidence that their width is correct, which will undoubtedly help me decide on sleeves length
if I am working on raglan sleeves, I can check if increasing line is not too long or short, and where it is located on my body
I evaluate the circumference of sleeve opening. If it turns out to be too big – what is probably the most common – I will not be able to achieve planned sleeve width, I will have too many stitches and this, of course, can influence the placement and number of stitch patterns and the final look of the sweater. On the other hand, incorrectly number of stitches for the size of the opening will give unsightly and creased joining line. This is why it is so important!
I judge the look of chosen stitch patterns, quality of plackets or collar
I make sure that the number of stitches is correct and the sweater has reached the desired measurement in the chest
Briefly: I gain confidence that I am working on the design I have planned. The second pre-blocking, if I need it, is done at the end of the body part or right before the hem of the sweater. Thanks to this, I can check whether I have reached the correct length and the sweater fits well around my waist and hips. It is also a good idea to pre-block the first sleeve to make sure it meets our expectations.
My own experience

As I mentioned before, I treat each sweater individually. Sometimes only second blocking can reveal imperfections – badly arranged button placket or unattractive neckline. This is what happened to me recently while knitting my new cardigan. I did not notice the flaws of my experimental neckline shaping after the first blocking, only the second one showed that it was not a good idea. I decided to modify the project and start all over again without regret.
How to pre-block?
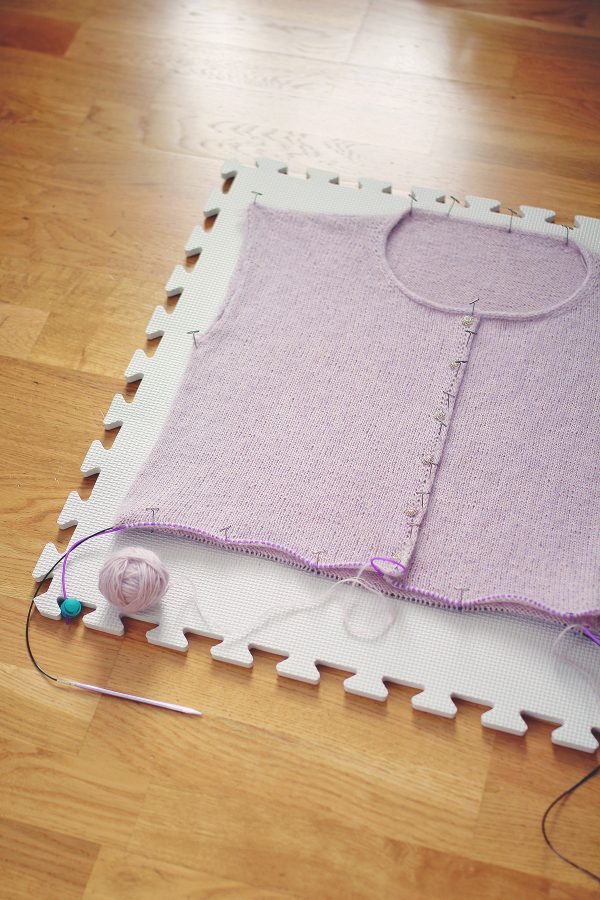
To get the best results, before you wash your project, provide your stitches with enough space. Even if you are using long circular needles which give you excess space while working on the project, divide all stitches between two long sets. It will allow you to control your project comfortably during blocking. If you do not want to wet the needles, use a long piece of scrap yarn or just leave the stitches on the long wires or cords secured with stoppers. There is no need to cut the thread – just be careful to not get the skein wet while washing your project.
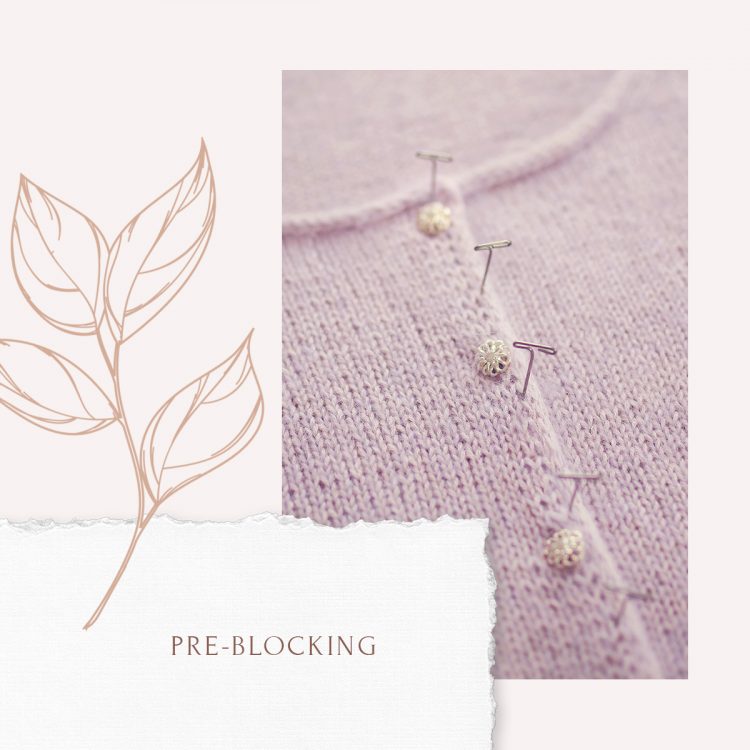
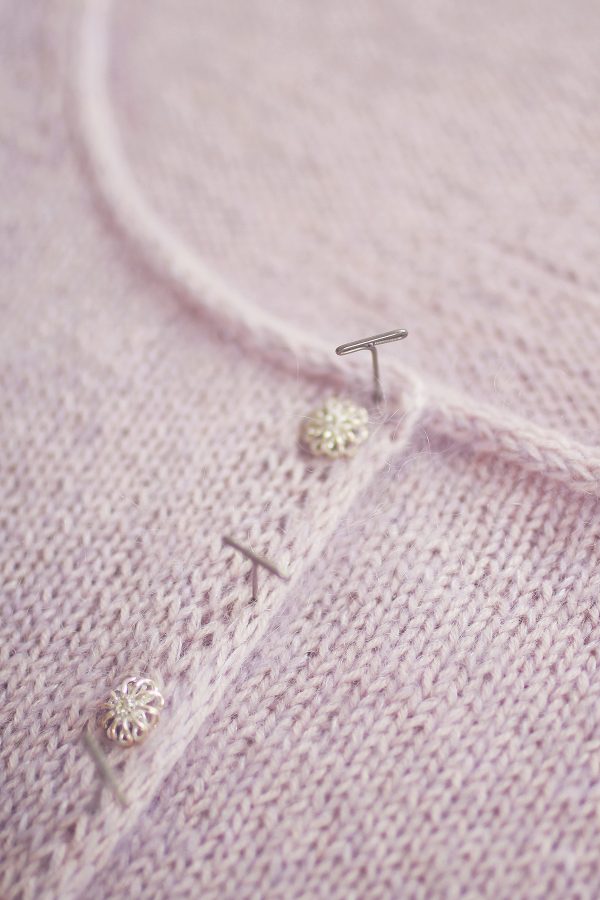
Remember to treat your unfinished project in the same way as finished garment when doing pre-blocking: soak in cold water, use the same wool detergent, carefully shape each piece and stitch, pin the garment frequently and leave it flat until it dries completely! If you are working on a cardigan, attach the first buttons. You do not have to weave in all loose threads, but it is worth to sew these places which need it, for example armpit holes (see tutorial “No more holes in the armpit!“). To check the depth of the neckline, make its final finishing before blocking.
Tip

If you are using coloured or wooden needles, be sure to remove them before washing. This first may lose their colour and wood, of course, is not resistant to moisture. But still remember to keep the remaining needles above the water, do not leave them in the bowl with soaked project.
When pre-blocking gave you confidence that your project is growing as planned, you can continue your beautiful work with peace and happiness in you heart! However, if something must be corrected, do not worry too much! It happens to absolutely everyone! Rip as much as is needed or start the project from the beginning. Mind that you have just saved many hours! You have quickly learned that there is a place which should be corrected and, with your blocked piece in front of your eyes, you will easily avoid potential next mistakes.
Summary
If you, like me, do not like unpleasant surprises and aspire to achieve the intended goal, I encourage you to add pre-blocking to your knitting routine. Remember! If you are not sure, pre-block! Do not stress, do not guess or hope – just check it! You will be much calmer and save lots of time and energy.
As always I look forward to your comments and questions! If you need more tips, let me know!


menbehealth.wordpress.com
Howdy! Would you mind if I share your blog with my myspace group?
There’s a lot of people that I think would really enjoy your content.
Please let me know. Many thanks https://menbehealth.wordpress.com/