This post came to life to help you adjust Felicia sweater to your needs and preferences! So if you want to make your own version, but fitted perfectly to your unique body shape, give this post a read! You will find here tips for choosing size, advice on changing the length of the body and the sleeves, my suggestions and thoughts about every modification and a list of essential design features that you should consider. I do hope this guide will make working on the Felicia sweater even easier!

Size selection

Let’s start with the most important thing, namely how to choose the size to achieve desired effect. Felicia was designed with plenty of ease – the body and the sleeves are very voluminous, the shoulder line drops low on the arm and the sleeves are deliberately constructed to be too long. The whole project is finished with long and elastic ribs to comfort and to highlight the oversized shape of the sweater. If you want to achieve the same effect as in the pictures, adequate ease is essential.

I know that the number of extra centimetres around the chest may be shocking at first, you may think it is too much and that following the instructions will be risky. However you should know that each centimetre less (or more) will give you a slightly different result. Felicia with a small ease will be a different sweater, so you should ask yourself at the very beginning what kind of sweater you need. Same as the original? Or maybe you are looking for something more fitted?

If you like the effect I achieved, I encourage you to trust me and add extra 28-35 cm to your chest circumference. If your chosen size’s ease lands in this range, you can be sure you you will get exactly the same effect as in the pictures.

However, do not be afraid to experiment – if the oversized shape doesn’t suit you, try smaller ease. But keep in mind that in this particular design, the shoulder line should not be to short. The place where the sleeves meet the body must be located below the shoulder head.

Additional note

No matter what ease and size you choose, always check each measurement of the sweater before you start working on the project: length of the body, shoulders, width of the sleeves, depth of the neckline or the circumference of the collar. You can find this information in the diagram attached to the pattern.

Modification of the body length

The only place you can easily alter the length of this sweater is at its bottom, just above the hem. And because it is worked bottom-up, you have to make this decision at the very beginning.

Remember that your sweater should not be too long, because this, in combination with its significant width, will give a rather unpleasant effect of heaviness. On the other hand, too short body will not form the subtle puffed shape above the hips. For proper look, the edge of the hem should be located a few centimetres above your hips or reach to the middle of your buttocks. Everything in between will give you a satisfying result.
For reference, I am 168 cm tall and I made size S for myself, and with 32.4 cm body length (from the bottom to the armpit) my Felicia ends just above my hips.

Additional note

Note that the length of the body in the diagram (C) is measured from the bottom edge to the beginning of the sleeve, which is much lower then your armpit. To find out the total length of the sweater (along the side), check the B measurement. It may help you to make a decision about the final length of your Felicia.

Rysunek

Once you have established your desired length, you need to do a few calculations or, if a centimetre or two doesn’t make a big difference for you, just estimate the number of extra or unneeded rounds. Follow the tips below and find out how easy it can be!

Open your copy of the pattern and take a look at the two charts on page 9. They show the cable panels used in the design. You will start working on them right after the bottom hem and increasing the stitches in the beginning of the body section. In the original version working on the charts starts from the first row.

Using your sample, calculate the number of rounds you want to add or drop – this number must be even! To make the next steps easier to understand, let me use number 8 as example.

In case of shortening the sweater, you should start working on the body 8 rows above the beginning, meaning that your first row for both charts will be row number 9. As you can see, we just “move up” on the charts by the chosen number of rounds.

When your goal is to lengthen the garment, you should “move down” on the charts and, in our example, your first row for Middle Cable chart will be row number 25 and for Side Cable chart, row number 5.

Important!

While increasing the stitches for body section (the first round after rib), we are setting their type – some of them are knitted, others purled – and it depends on the stitch patterns made in the next round. When altering the length, you have to alter the type of Middle Cable stitches too, so that they match your new starting row. To understand this process better, analyse the example below.

Example: I want to shorten the sweater by 8 rounds, so my first row of the Middle Chart is 9. This means that I should have the following sequence of the the knitted and purled stitches: p1, k3, p3, k3, p2, k3, p3, k3, p1 where the Middle Cables are located.
Compare this sequence to the 9th row of the Middle Cable chart to understand the connection and simplify your own calculations.

Stick to the number of increases given in the pattern. You should only modify the stitches type.

Additional notes

  • always start working on an odd chart row.
  • do not start working on the 19th or 21st row of the Middle Cable.
  • move on both charts by the same number of rows.
  • modify the length of the body at the bottom of the sweater.
  • when you reach the last row while “moving up” on the charts, go back to row 1 and continue counting.
  • when you reach the first row while “moving down” on the charts, go back to the last row and continue counting.

Modification of the sleeves length

Same as with the body, the sleeves are made bottom-up to keep a consistent look of the cables. This time however, you can change the length almost everywhere.

As mentioned in the introduction, I designed the sleeves to be too long. With a truly loose body and equally wide sleeves, right length is important to achieve proper effect. The sleeves ending on the wrists will disturb the proportions and will not provide adequate comfort. But the other extreme will also be disappointing – the sleeves should fall on the cuff and create large puff, but at the same time they should not hang down sadly and cover the entire hand.

To adjust the length of the sleeves to your needs and measurements, make a few centimetres more or less, making sure not to end on rows 18-22 of the Middle Cable – stitches are increased there for a decorative stitch pattern. The last round of the sleeves should also be an odd row.

Unfortunately there is a small trap! On the entire length of the sleeves, two stitches are increased every number of rounds to reach a circumference equal to the dimension of the arm opening. Try to finish with the required number of stitches when shortening the length (in case of lengthening this problem will not occur). You will find this number on page 8, in “Sleeves” section, after the last increasing. Try to reduce the number of the rounds between every increase evenly along the entire length or just in the last 2-3 last increases. If you lose only one round of increasing because of your length modification, you can skip this process – two stitches less will not be a problem.

Remember!

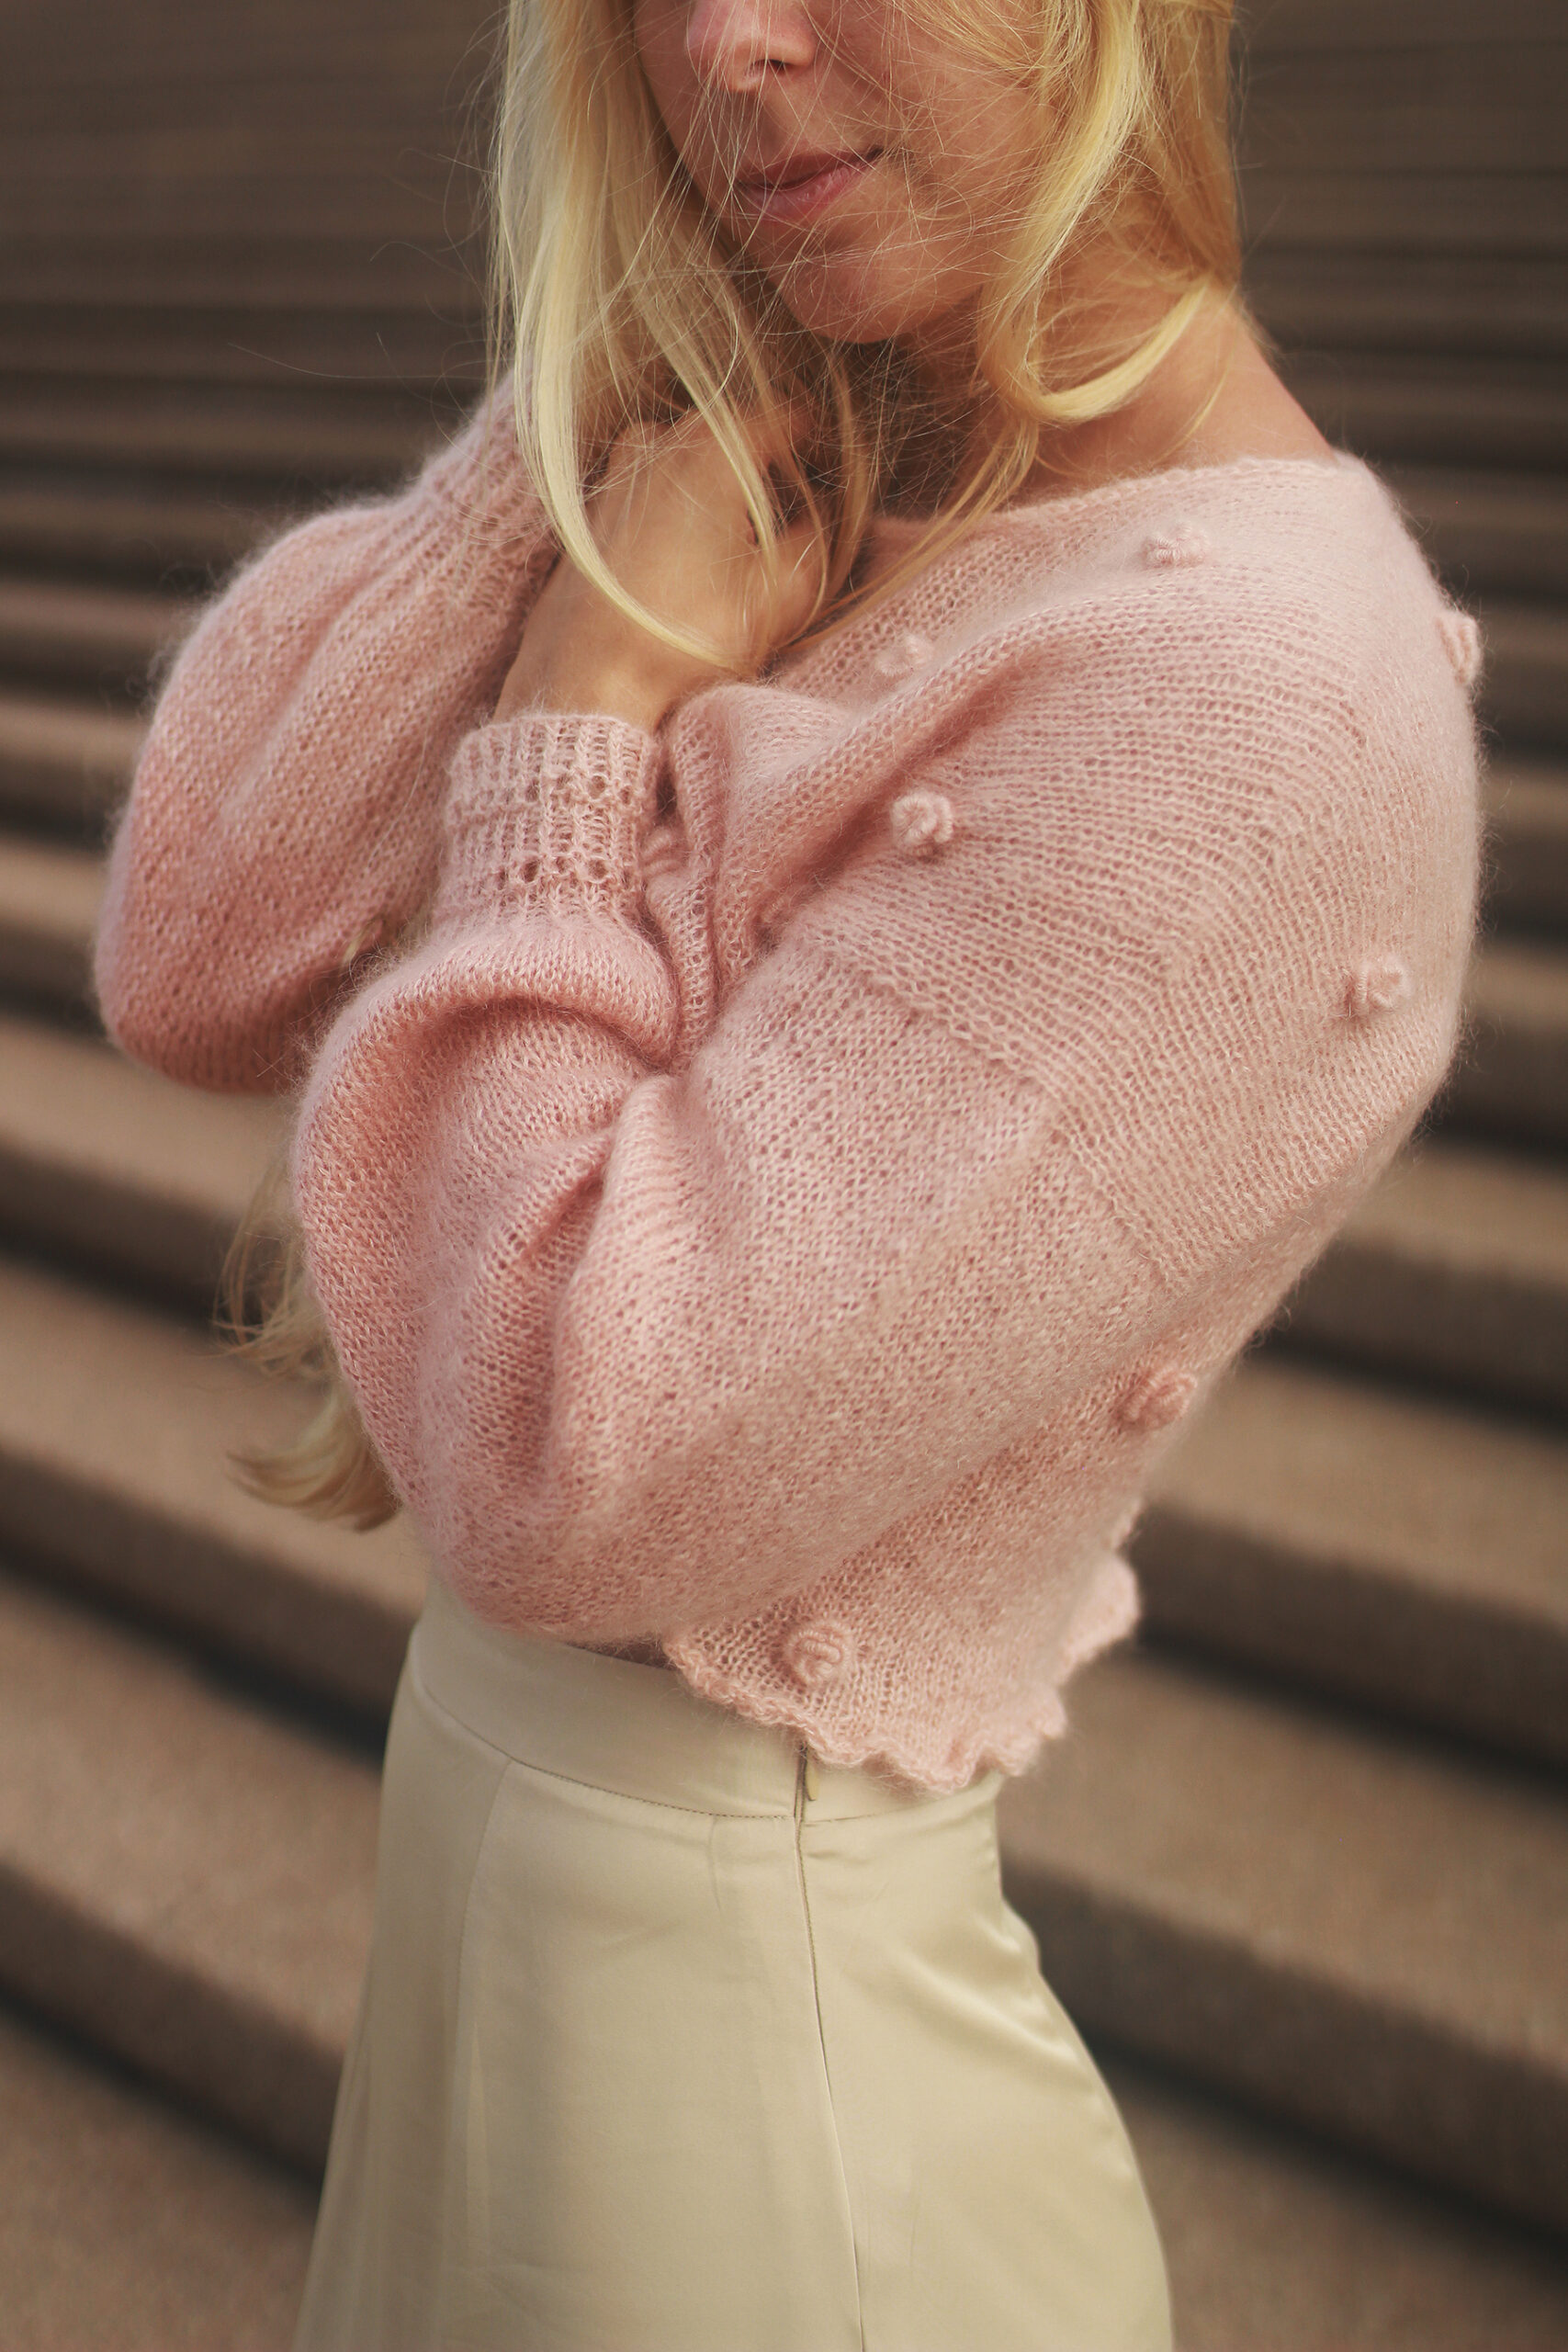
  • provide your sleeves with adequate excess of fabric above the cuff, otherwise you will not achieve the desired puffed effect.
  • the final length of the sleeves also depends on the length of the shoulders of your sweater – before you finish the sleeves, try them on with the body and check where the joining line is located.
  • once your body is ready, do not try to narrow or widen your sleeves, otherwise they will not fit into the arm openings. If you want to make such adjustment, see the paragraph “Mixing sizes” below.

Mixing sizes

I am well aware of the fact that each of us has different proportions and there is no single recipe for a sweater that fits every body shape. In my patterns the width of the sleeves increases proportionally with the width of the body, but as we well know – there are so many different proportions and dimensions as there are different beautiful bodies, right?

If your chest requires completely different size then arms, you can easily mix two sizes and create a perfect version of Felicia for yourself. Once again, to simplify it for you, I will use a specific example. Suppose you would like to knit size L for your body, but your arms would feel more comfortable with size M. Open files for both sizes and before you start working on the sweater, mark key points where you will make modifications to prevent mistakes:

  1. Start working with the L size. Follow the instructions to make a hem, the Increasing round and the Next round.
  2. Perform the instructions from the next paragraph (the last paragraph above the “Front” section) using file for size M. It describes how many full repetitions of the Middle Cable and the extra rounds need to be done for this size. For size M it is two full repetitions of the chart and 7 additional rounds. Follow these instructions. (This place is crucial – the next step is separating the body into Front and Back and the length of these two sections determines the width of the sleeves).
  3. Go back to the first file (size L) and do the Front and Back sections.
  4. Make the sleeves according to your chosen size (M).

As you can see, the whole process is quite simple! You can mix any two sizes this way. Find your perfect dimensions and create a tailor-made sweater!

Summary

I hope this handful of tips will help you get through all the desired mods without stress and mistakes. Please remember to make a swatch and, if you are not sure about the dimension of your knitting project, to do pre-blocking too. This will allow you to work on your dream project without uncertainty and limit unpleasant surprises to minimum. And above all – to get a satisfying final effect!

If you still need my help or you are struggling with an issue not described above, I’m looking forward to your comment! Together we will come up with a solution 🙂

Marzena

Promo code

Use the code Feliciasweater30 in your cart in my Ravelry store to buy the pattern for Felicia sweater with a 30% discount!