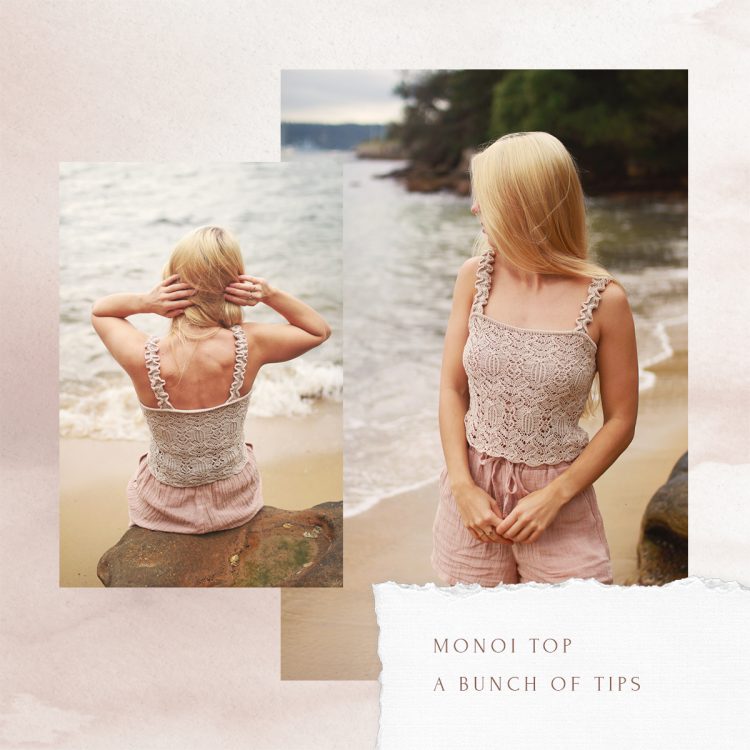
Here it is! The article full of helpful tips about Monoi top, my romantic, summer-scented and cleverly designed knitting top. The pattern, which you can buy now in my store, contains detailed information on how to make this partly lined summer top, but in this post I would like to share with you my additional thoughts. I hope they will answer all your questions, explain crucial aspects in details, dispel doubts, and inspire you even more!
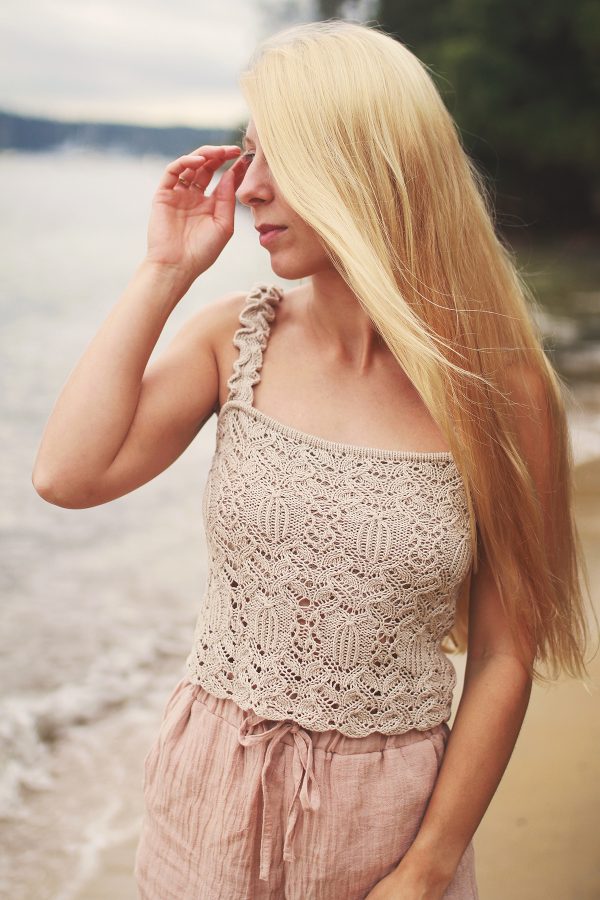
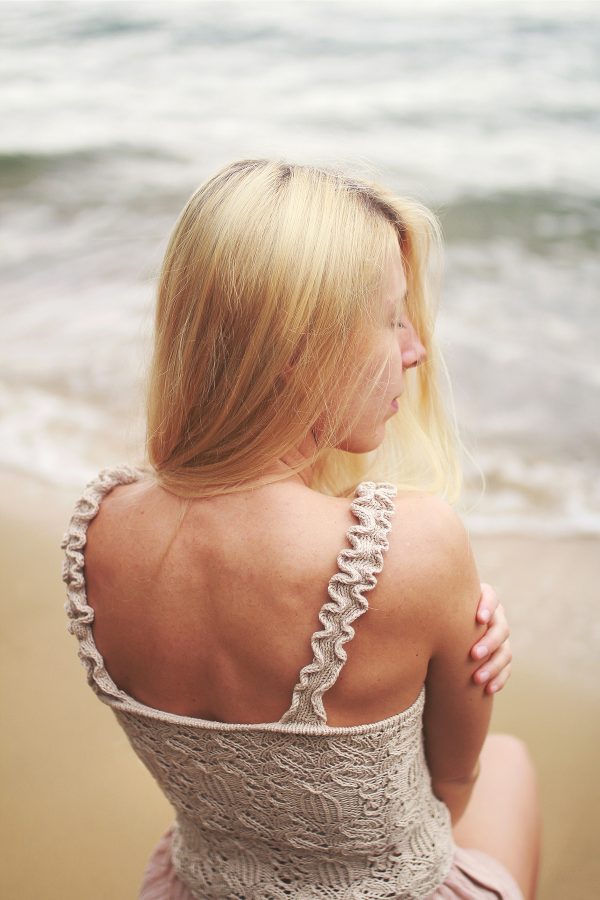
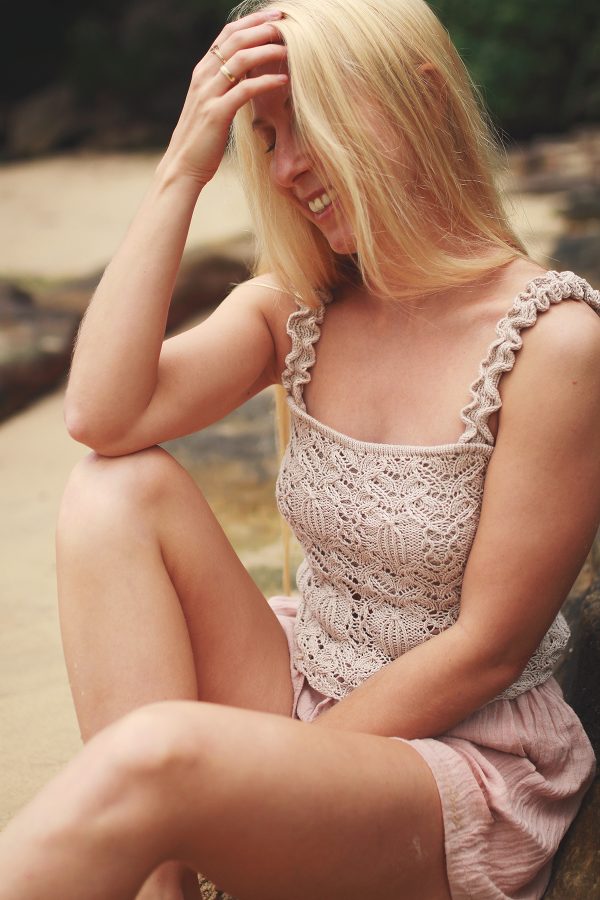
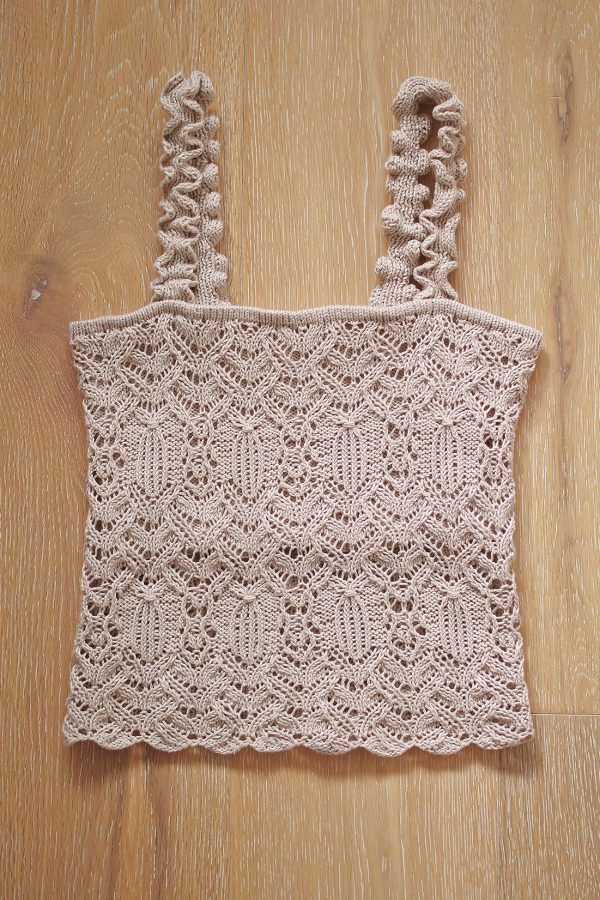
Monoi top is a richly decorated summer piece of garment with sophisticated lace and a meticulously thought-out construction. In this design I conjured everything that brings us to a paradise island!
Innovative straps provide an undeniable charm and together with the built-in lining, make this top very comfortable to wear. All so that we can enjoy the summer to the fullest!
If you wanted to know why I decided on such construction and uncommon solutions, what are the advantages of my approach, how to avoid or deal with potential problems, keep reading! I will also tell you more about my concept and suggest ideas to inspire you! Let’s start!
Construction
I dare say that three features in particular distinguish this project from the crowd and make it very special. And they are:
- built-in lining which provides support and comfort.
- uniquely made straps with a narrow elastic inside.
- uses of the natural properties of knitting fabric and lace patterns to achieve a well-made garment that works perfectly with body curves.
It was my second, equally loved hobby, that made me look at knitwear design from a slightly different perspective. I mean sewing! I have been making my own wardrobe for a few years now and I have already learned a lot about the clothes constructions and how the different fabrics and fibers work with our body curves. Thanks to sewing I gathered additional experience of what is the most resistant or truly comfortable to wear. Why not combine knowledge from both techniques to improve clothing and discover new, uncommon solutions?
This, mixed with my endless need to experiment and create something different each time, delivered Monoi top, my very first summer top, which I simply love. Not only because it’s full of my favorite lace patterns, but also despite all these lovely decorations, the top is just very comfortable to wear every day.
Let’s then talk about all its features in details!
Built-in lining.
I do not like wearing summer tops with a bra (to be honest with you folks, I do not like bras at all:)), especially those having narrow straps. The straps may distract from the top and make it look heavy, and the bra itself definitely adds an extra layer to our summer outfits. Summer knitting tops are always heavier then fabric ones, so I really wanted to minimize the bulky effect. On the other hand a top covered only with lace pattern is not practical as it may reveal too much. And this is what I do not like either 🙂
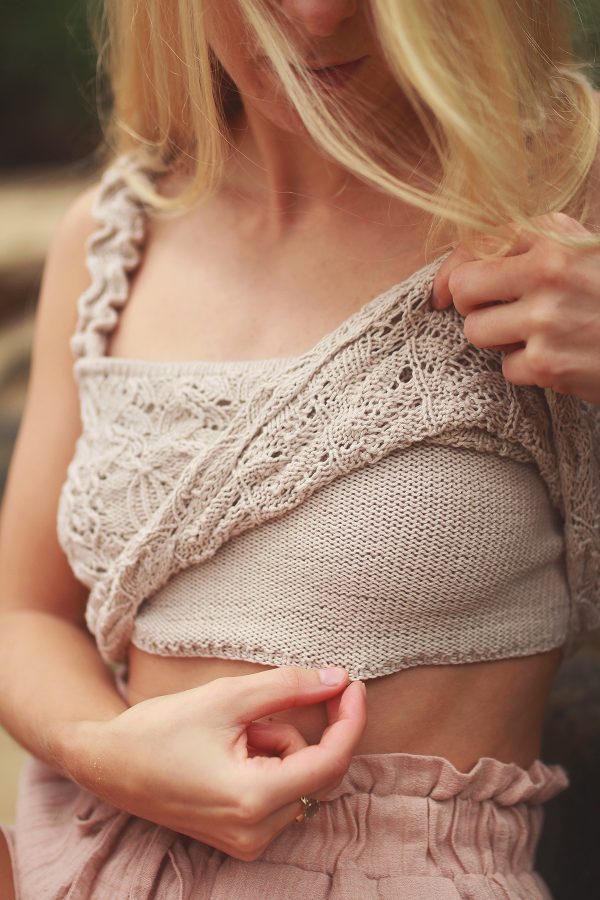
I cleverly built the lining in to make the process of knitting smooth and easy. The body part is made in one piece, from the bottom all the way up to the double-layered brim and then the lining is made in the other direction. The lining entirely covers the bust and reaches slightly below and leaves the bottom partly translucent. You can very easily adjust the length of this layer to your unique shapes and preferences!
Straps with elastic.
I think I can safely say that this is something that has never been done before! And I am really proud of them!
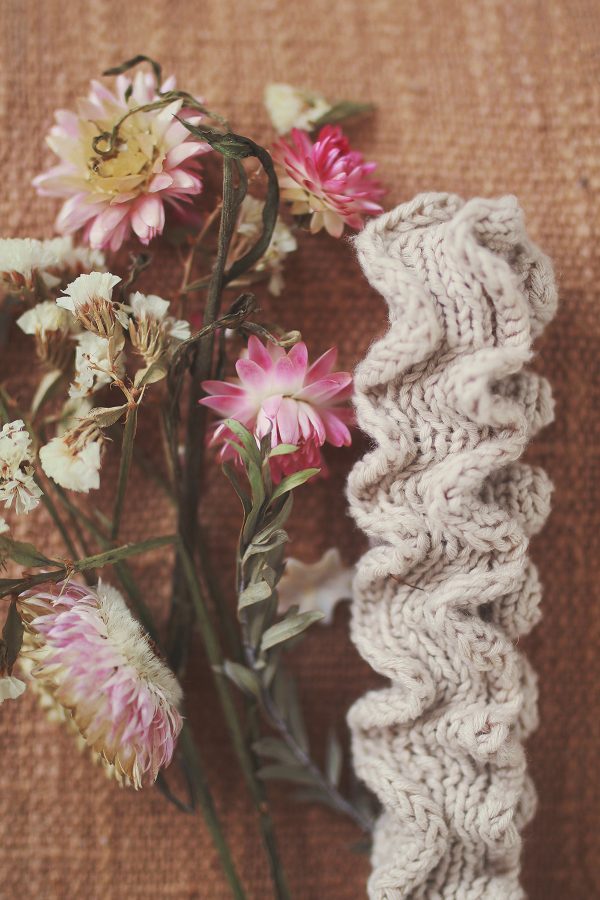
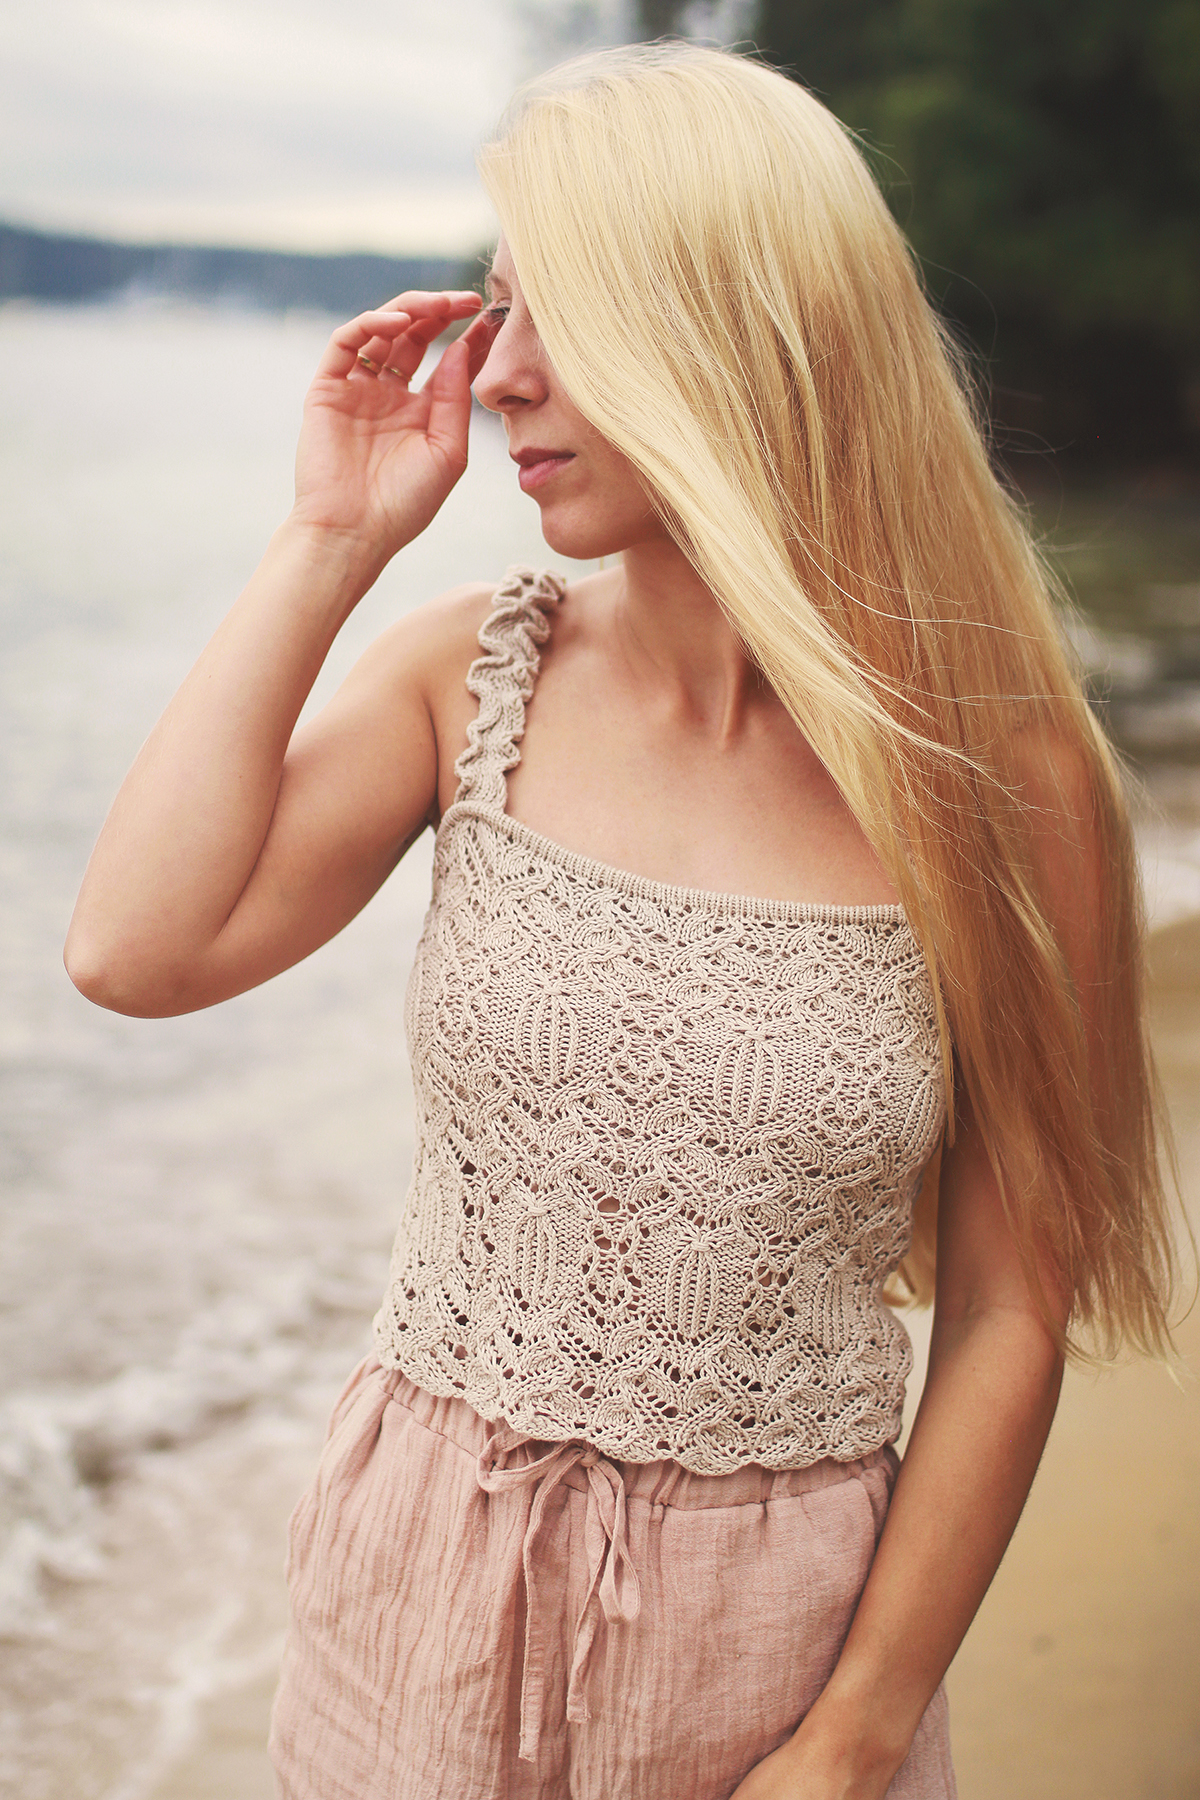
The straps in Monoi top are made using long knitted strips and soft, narrow elastic. The straps are worked separately and they are formed from a tunnel, created using double knitting method, and few edge stitches on each side for a nice, ruffle-like effect. Then the straps are sewn in to the top – both written, step by step instructions and detailed images of each step are included in the pattern.
Why have I decided on such construction?
- Firstly, because only elastic can give us this excellent gathering. In my opinion they look extremely cute and simply one of a kind!
- The second reason was to make the straps durable and long-lasting. Straps in knitting tops made only from yarn tend to stretch out and lose their shape over time. This may result in lowering the depth of the neckline, slipping of the straps from the shoulders and deforming of the fabric. The elastic prevents this stretching and gives a great amount of stabilization.
- The next reason was the comfort. You have no idea how easy they are to wear! The slightly stretched elastic keeps them on the shoulders all the time, regardless of your moves. Run, dance, jump, lay, bend down… do what you like and do not care about them! The top will still be where you placed it 🙂 Watch this video to see it’s true: Monoi top promo clip.
- And last but not least… I just wanted to try something totally new and see how it turns out! I do love adding a pinch of challenge to my knitting life and providing you with something interesting in every project!
Uses of natural fabric properties.
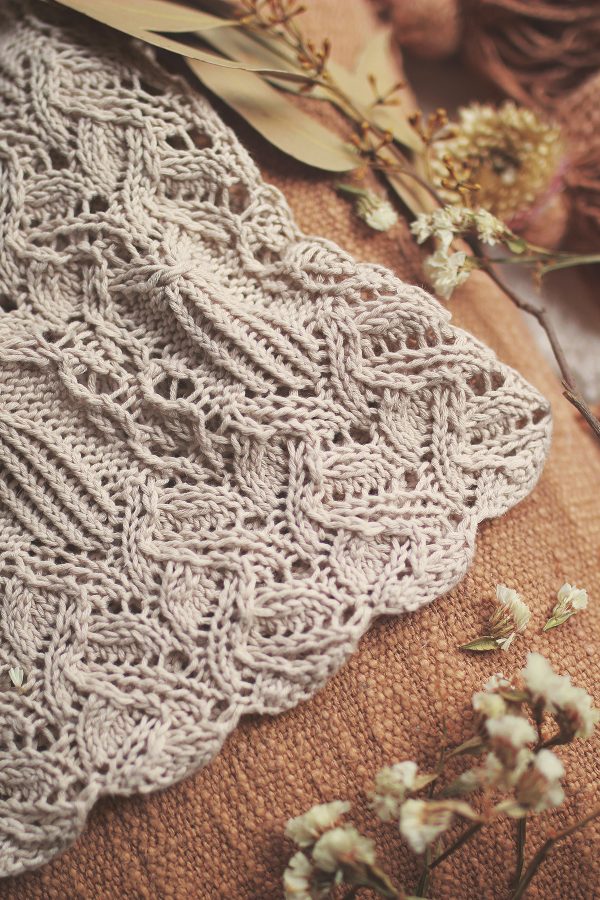
Sewn clothes in general are divided into two groups – made from knitted fabrics and woven ones. And the approach to working with these fabrics is slightly different, due to their different properties. Woven fabrics require more shaping, as they do not stretch. With knitted fabrics we can allow them to adjust to our body shapes without darts, complicated constructions, zippers etc. And it is a great advantage! Why not use it if we can? A knitted fabric is truly graceful to work with and especially to wear. In this design I used natural features of knitted fabric and lace to easily adjust them to our body shapes and curves. Knitted fabric stretches a lot, but when the fabric is made using lace patterns, this feature is even more emphasized! The lace can change its shape dramatically – we can nicely stretch it in every possible direction without losing the quality or appearance of the pattern and it will come back to its initial form immediately after releasing. Magic!
Monoi top is a tube, which means the top does not have any waist or bust shaping. Thanks to that we can admire a beautiful, not disturbed by anything, surface of the best sort of lace patterns!
But it works nicely only if you choose a correct size, which brings us to the next paragraph!
Size selection
This top is designed to be skin-tight in the chest and more or less loose around your waist. If you stick to this rule, you can be sure you will get a satisfying result!
Monoi must be worn with negative ease. What does it mean?
The pattern provides two chest measurements: flat and after stretching. The second one is the maximum circumference the top can reach when stretching in a given size, without losing a nice appearance. And this is the most important value for you – choose your size solely based on it, trust the pattern and simply follow my guidelines.
The circumference in the widest point of your chest should be lower than or equal to the maximum stretch of the chosen size. The idea is that the lace will stretch around your chest, therefore its vital to measure how much your lace swatch stretches to the sides. A finished and properly blocked swatch should easily and neatly stretch to 10 cm (all gauge guidelines and the chart are included in the pattern), keeping the lace patterns aesthetic. It is crucial to make and also to block the swatch, as lace patterns tend to change their measurements significantly after washing. Do not skip this step! You should always make a swatch, but in this pattern it is simply fundamental. You will not regret, I assure you.
What happens if you do not meet this condition? In case of lack of negative ease, the brim will not lay well around your body, hanging down sadly and revealing too much. On the other hand, if the size is too small, you will not be able to wear it.
Additional note
Think about Monoi top as of a fitted jersey t-shirt – the fabric around your chest always stretches while the waist mostly remains relaxed.
And here is the instruction on how to pick the perfect size:
- First measure the widest point on your chest and write this number down.
- Look at “Circumference after stretching” measurement: 80 (90, 100, 110, 120, 130, 140, 150, 160, 170) cm (page 2 in the pattern).
- Find the smallest size such that the stretched measurement is greater than or equal to your measurement, eg. for 106 cm bust circumference, the correct size is 4, with maximum stretch 110 cm.
- To make sure all your body measurements will fit this size, check page 3 to find out all measurements for chosen size.
- If your bust circumference is equal to the stretched measurement consider go size up only if your waist circumference is similar to the chest one. It will give you a better look and comfort.
My bust circumference is 86 cm and 64 cm around my waist and I chose size 2, with 90 cm circumference after stretching.
Additional note

If you have a truly unique body shape and your measurements do not fit the design’s assumptions, consider carefully these aspects:
- estimate where your brim will be placed on the body and what measurement will give you the best fit and comfort. As I mentioned before, brim should lay nicely around the body, not stand out from the body but also not be tight – it should not cause discomfort while wearing.
- make sure your bust will fit the stretched measurement. The perfect scenario is the max stretch slightly bigger than the bust circumference.
- carefully check your belly measurements and find out if you need more space for better comfort.
- use highly elastic yarn.
Straps
I have already described the overall straps construction, so now it is time to highlight a few things for better understanding.
The general rule for straps is that the length of the elastic should be around half the length of the tunnel. This guarantees you the most beautiful ruffle-like effect! The longer the elastic, the smaller the frills on the strap. If it happens that your elastic length is close the tunnel length, you must consider lengthening the tunnel.
What can be confusing it is a where is the right side of the strap. The tunnel is made using double knitting and both sides of the tunnel look exactly the same. The difference between strap sides is on the edge stitches. The right side of the strap is the side with purl stitches on both sides of the tunnel. With the purl stitches on the right side, the wavy edges stick out in a nice way, creating a curling shape. But both sides are nice, so if you like the other one more, there are no objections.
In terms of elastic. You can buy narrow elastic (12 mm) in every haberdashery or even in supermarkets. The type of elastic is not crucial, but it should be rather soft and delicate. If you cannot find 12 mm wide elastic, choose 10 mm instead of 15 mm. Pick the color which matches your yarn. They are mostly available in three shades – white, nude and black. Do not use white elastic for dark colors, and vice versa – black for light colors. I used a white elastic.
Tip!

As mentioned above, the tunnel is made using double knitting method. It happened to me a few times, that instead of slipping stitches with yarn in front, I purled them unconsciously. This simply cannot happen! Even one purl stitch will close the opening and you will not be able to pull elastic through the tunnel. As the straps are gathered, the pieces you should make are quite long and there is enough time to make the mistake. Pay extra attention and check the correctness of the stitches every few centimeters.
During the test one of the knitters proposed an excellent idea on how to deal with it and easily check if the tunnel remains open! Put a pen inside the tube and every other row push it up – as long as it goes, the elastic will do it too! Brilliant!
The most tricky part may be the straps placement. I do not point the precise place where you should attach them to the top. There is no one good answer for it and it depends only on your body shape, length of your bust and simply on your preferences.
Together with the complete instructions on how to make straps, pull through the elastic and sew the straps to the top, the pattern contains detailed description on how to find the best placement. You do not have to worry about anything! All you need is to follow the steps and be patient while finding the best position and elastic length. But anyway, let’s talk about it here as well.
As the pattern informs, you should not sew the straps symmetrically on both sides of the top – the distance between straps on the front should be slightly bigger than on the back.
I recommend placing the straps so that they lay at the end of your collar bone, close to the shoulder, but not on the shoulder itself. The natural convexity of the shoulder bone will keep the straps in place. Straps placed too close to the neck will irritate the skin and annoy you all the time.
As I mentioned before, the straps placement on the back cannot be the same as on the front. It will not work at all (you can try, if you do not believe me :)). In such case, while wearing the top, the straps will be placed almost under the armpit. Bring the straps closer to the top’s centre. Additionally smaller gap between straps on the back prevents the straps from slipping down. Do not overdo it though! The difference between front and back should not be significant.
Before you sew the straps attach them to the top using safety pins to check if they look good.
Remember

Determine the straps placement only while wearing the top.
To make it easier, I will show you my own straps placement. But remember that only you know what is comfortable to you!
I chose size 2 and I have 9 lace panel repeats. You can see in the picture below, that straps on the front are attached closer to the sides. Here are all the important measurements:
- width of the top measured flat (close to the brim line): 67 cm
- distance from the straps on the front to the sides of the top: 6.5 cm
- distance between the straps on the front: 14 cm
- distance between the straps on the back: 10 cm
Use my measurements as a guide to find your own placement.
Yarn selection
And now the best part – yarn selection! It is always soooo exciting, isn’t it? I believe that all summer fibers like cotton, silk, linen and their mixes (also with wool) will work perfectly with this pattern. I used Katia Cotton-Cashmere, a sport weight cotton with a small amount of wool, which gives light and very soft fabric at the same time. Try to choose a yarn with at least a small elasticity and nice, round cross-section – such thread highlights lace patterns the most. The yarn does not have to stretch a lot, as the lace pattern provides elasticity itself.
Avoid multi colored yarns as they will distract from the patterns. For extra bust support, use a highly resilient yarn for lining.
If you fancy that, you can use a contrasting color for your lining to make your Monoi jolly and unique! Or the opposite – whatever color you choose for an outer layer, use a nude shade for lining to make it more invisible and to mimic the partly translucent look of the bottom part.
Additional tips
- Remember that after finishing the lining, you will not be able to lengthen your top without frogging the lining and the brim. No matter how terrifying it may sound, the best option always is pre-blocking. In this top I recommend doing this once you finish the outer layer, right before the brim. There is no doubts that the lace will change dimensions after wash – do not try to estimate the length only basing it on the swatch. Life has already taught us that knitted fabric enjoys surprises.
- If your finished and blocked brim tends to stand out instead of lying flat against your body, moist it a bit one more time, lay flat and try to flatten it more using your hands, pin in place and leave until the brim is fully dried.
- Monoi was designed to be a cropped top. Adjust the length of the outer layer (all tips on how to do it in the pattern!) to fit your personal needs and unique body shape, but remember that the top will be worn with lightweight summer clothes, so it should not overwhelm them with its excessive length.
- Use lots of pins while blocking, especially to highlight the naturally created scalloped bottom edge of the outer layer. It would be just a pity to not emphasize this cute detail!
- Summer tops are mostly made using plant-based fibers like cotton or linen, which are less susceptible to blocking. Make sure you wet and block it carefully and leave it untouched until the top is fully dried.
- When adding a new thread, whenever possible, do it in the middle of the twisted rib section to avoid knots protruding through the lace openings.
- Check versions of Monoi top made by other knitters (for instance my lovely testers!) to find out how it looks on different body shapes, how the lace works with various colors, what yarn they chose or how they modify the pattern to make it more personalized.
Summary
I hope you found this article helpful! Any time you have doubts or additional questions, do not hesitate to ask! I will be more than happy to help you with your knitting adventure.
Will you give Monoi top a try? I cannot wait to see your versions!
Marzena





Reanna
How is the chart read? Are all odd rows read right to left and the opposite way for even rows? Also do the knit stitches become purl stitches on the wrong side? And my last question does k2tog become ssk on the wrong side?
marzenakolaczek
Hi! You should always read the chart from right to left, bottom-up – Monoi top is worked in the rounds, so you are always on RS 🙂