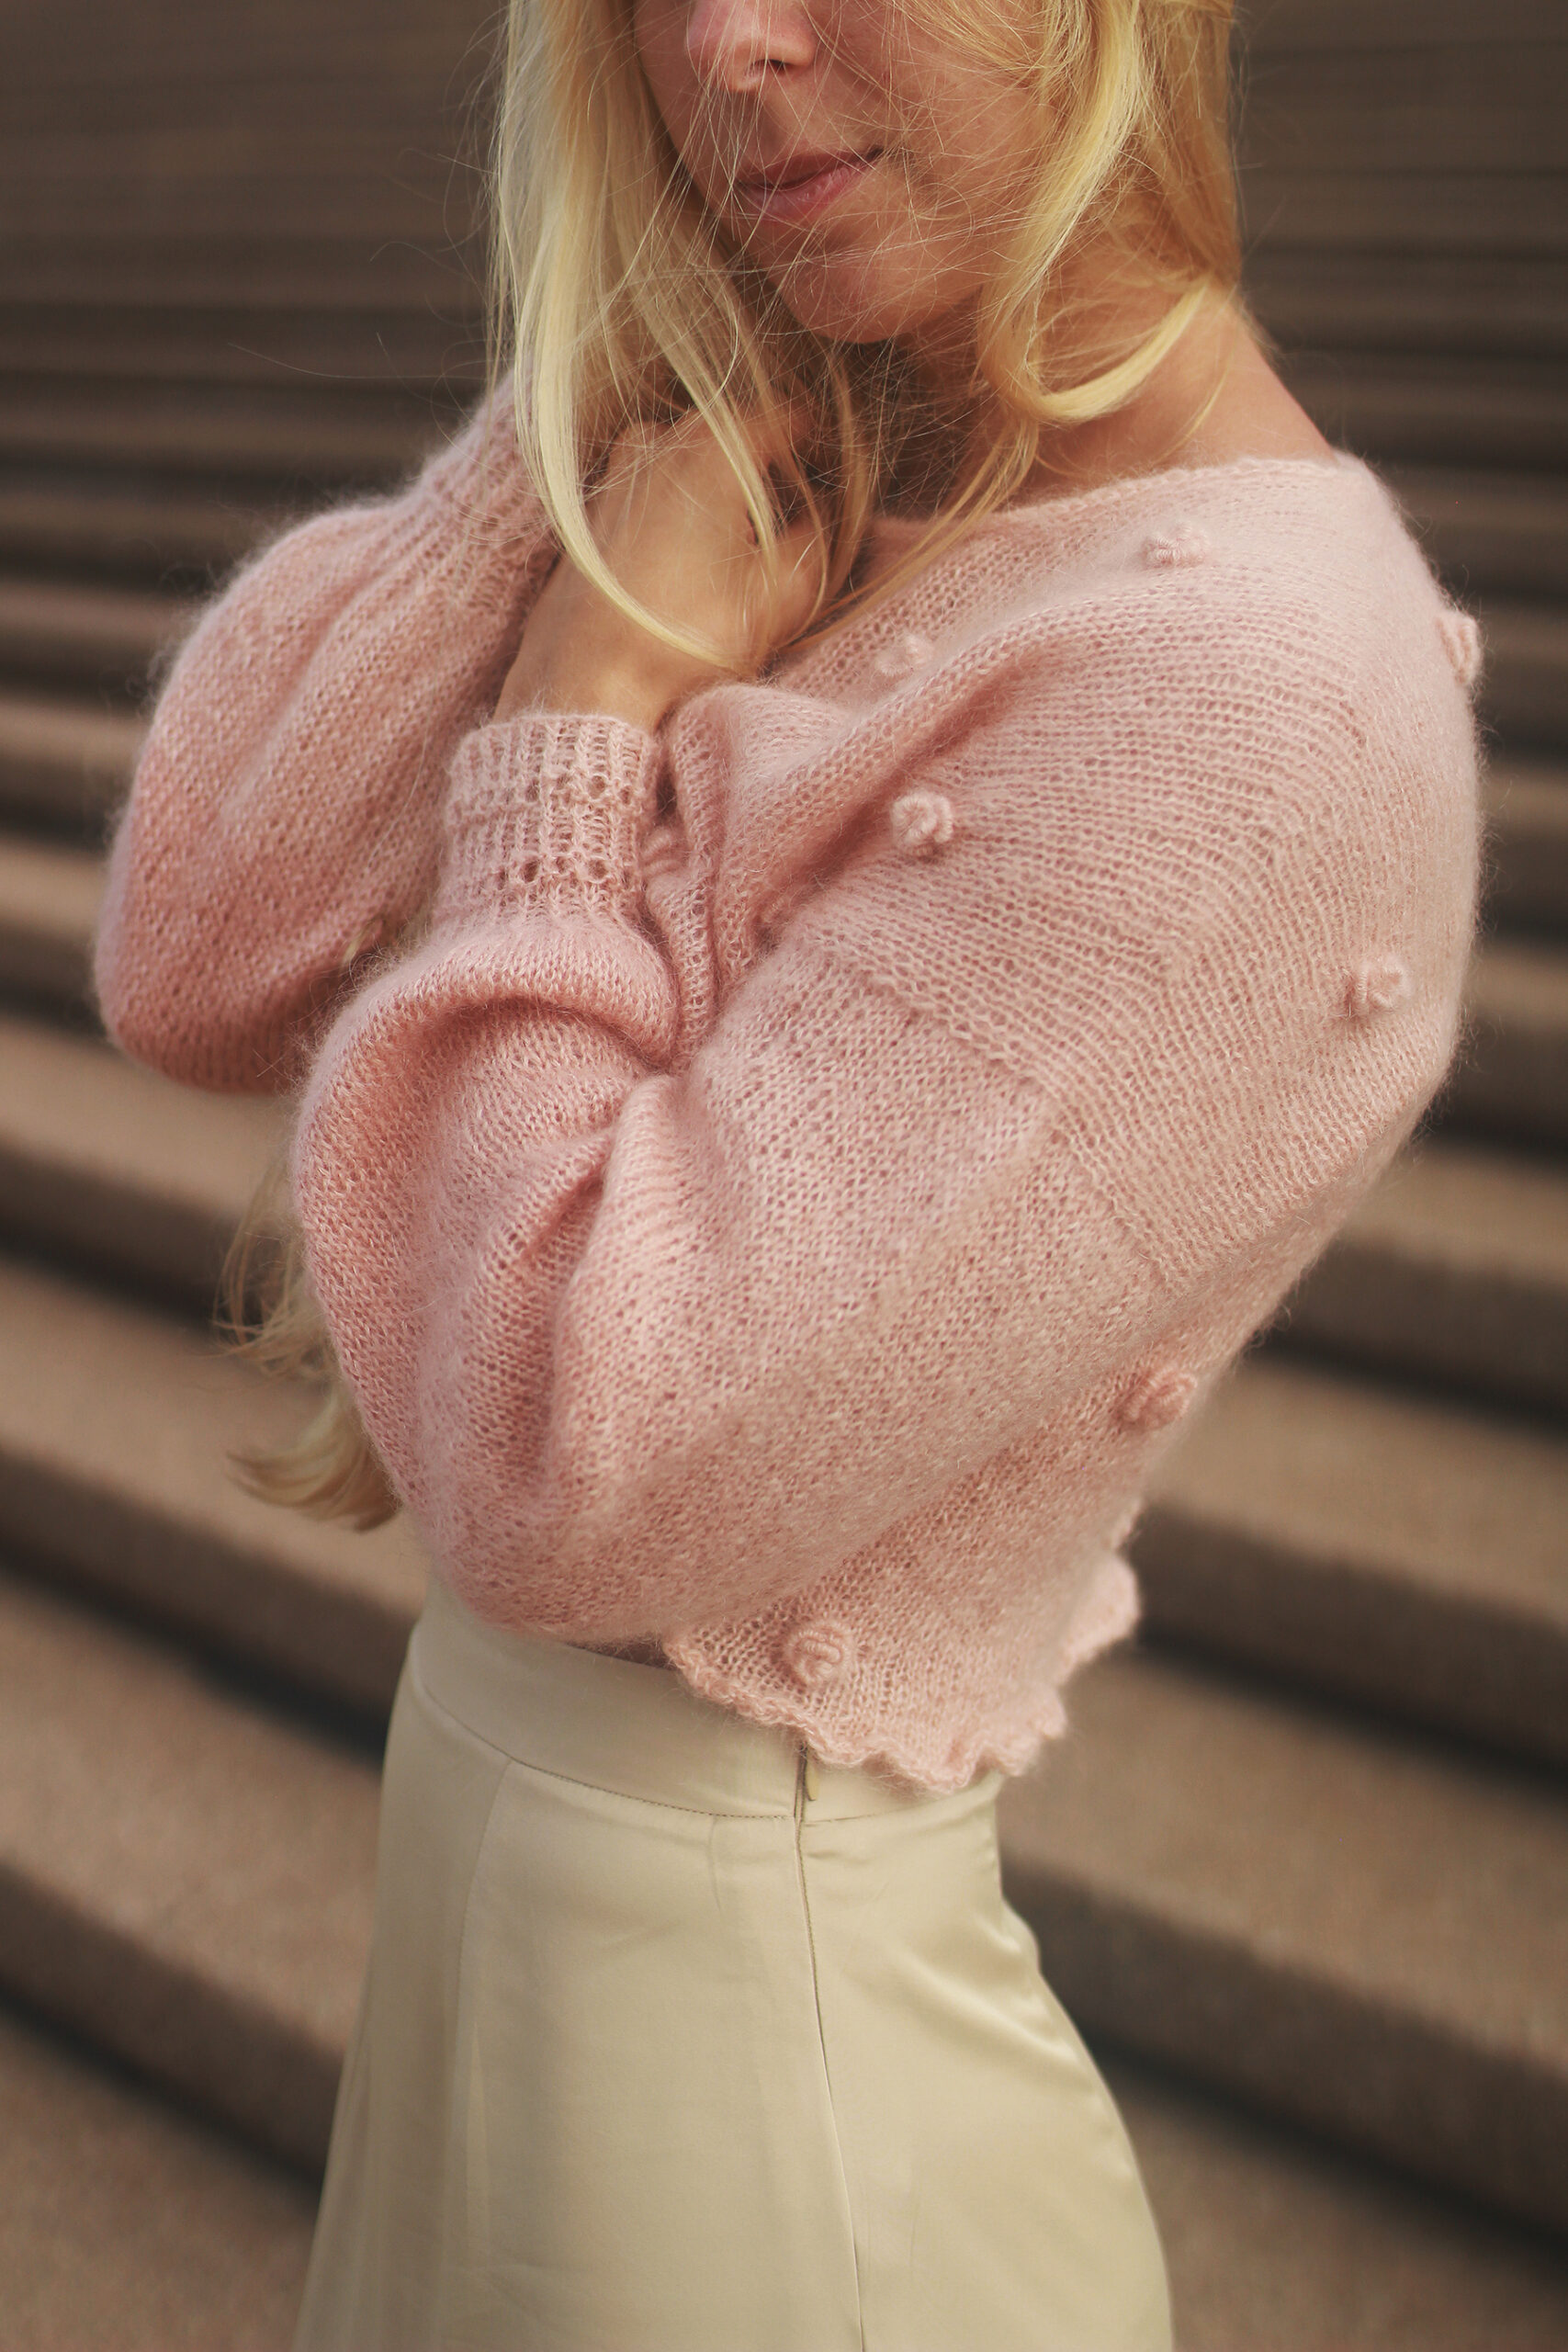
I truly believe that a perfect hand made sweater should meet all our expectations and match our unique style and body shape. So if you would love to possess Priscilla cardigan in your wardrobe, but you need to make small modifications to love it even more, then this article is for you! In this post I will show you how to do this in an absolutely painless way and achieve the best final result!
Priscilla cardigan is an extremely romantic and charming design, full of carefully selected stitch patterns and thoughtful details. The final effect is highly influenced by its complexity and well-thought-out form – it is one of those projects that made me soar to new heights of creativity and, at the same time, allowed me to use the skills acquired during my math studies! In case of such complex patterns, my main goal is to create instructions that will not let you feel what’s behind them and allow you to easily follow the instructions and experience pure satisfaction with every single stitch.
That is why I decided to write an article for you, where I am going to show you how to adjust the length of the body and sleeves of your Priscilla cardigan, in a step by step tutorial, to achieve the best possible result. It is not trivial and without knowing the whole structure and all dependencies, doing it on your own could add a pinch of frustration to the working process, and this is what we would love to avoid, wouldn’t’ we? Let’s begin!
Modification of the body length
First, decide how you would like to modify your sweater and why. What’s your goal? Adjusting the sweater to your measurements to achieve correct proportions? Changing the vibe to make it more suitable for a different pieces of garments? I designed this sweater to be slightly cropped and to match dresses or skirts. In such case, the cardigan should not cover the hips, but end nicely just above them. My height is 168 cm and I made size 2. Use this information as a reference for your next steps.
To lengthen or shorten the body of your Priscilla cardigan in a nice and neat way, you need to do two things: finish working of the body part in the right moment in the Lace Chart and modify the placket and the number of buttons accordingly. Follow these steps:
Step 1:
Open your copy of the pattern, go to page 3 and check the C measurement – it’s the length of the body, from the armpit to the hem. Compare your desired length with the one given in the pattern and find out the difference. Write this number down.
Note: Priscilla’s sleeves are not oversized, so start measuring your body slightly below your armpit.
Step 2:
Go to page 7 and check how many repetitions of the Lace Chart are specified for your size. You can find this number in the “Body” section. Look at the example:
Size 3
Pattern says: ” […] Work the body as est making the next rows of charts until you have finished 4 full repeats and the next 12 rows of Lace Chart counting from the shoulder.”
Size 3 has 4.5 repetitions of Lace Chart.
Step 3:
For the most aesthetic look and consistency with the pattern, always end working on the body part with the 12th or 24th row in Lace Chart. And every half of the repetition, which is 12 rows of the Lace Chart, measures around 4.5 cm.
Increase or decrease the number of full/half repetitions of the Lace Chart to achieve the desired length (it will be a multiple of 4.5 cm). Example:
Size 3
I want to add extra 9 cm to my body length, what gives me an additional one repetition of the Lace Chart, so I need to make 5 full repeats and the next 12 rows of Lace Chart counting from the shoulder.
Step 4:
Follow the instructions making the hem as established.
Step 5:
Modifying the length of the body requires adjusting the number of stitches for the placket, the number of “waves” and the number of buttons. For that, start working on the placket by adding or subtracting 4.5 cm for each added/reduced half of Lace Chart, to the value given at the beginning of the “Placket” section, on page 8. Example:
Size 3
I added 1 full repetition of Lace Chart (5.5 in total, measure from the shoulder).
The pattern says: “[…] Measure around 24 cm 9.5” from the bottom of the body along the front opening and mark this point on the edge with a locking stitch marker on both left and right front.”
Instead of 24 cm, I must measure 33 cm (2*4.5cm + 24cm = 33cm).
Step 6:
Your button placket has become longer/shorter, so now you have to adjust the number of waves and buttons – that is, the number of stitches picked up along the fronts, from the bottom to the places marked by locking markers. To do this, increase or decrease the number of stitches by 8 for every half of the Lace Chart. Example:
Size 3
Pattern says: “[…] pick up and knit 57 sts along the edge to the first locking marker, […], then pick up and knit 57 sts along the Left Front edge.”
In the original version I should pick up 57 stitches from the bottom to the locking markers. I lengthen the body by 1 full repetition. I am adding 8 stitches for each half of chart, which gives me 73 stitches in total (2*8sts + 57sts = 73sts).
Step 7:
Now it’s time to make a correct number of waves and buttonholes! Each 8 stitches is one buttonhole/button and one wave. Increase or decrease number of short rows sequence repeats in accordance with the changes made. Example:
Size 3
Pattern says: “[…] Repeat from ** 6 more times (7 buttonholes in total).”
16 extra stitches mean 2 additional buttons, so I must repeat the whole short rows sequence 8 more times and create 9 buttonholes in total.
Summary:
Each extra half of the Lace Chart (12 rows) means an additional 4.5 cm to be measured along the front opening, 8 more stitches to pick up for the placket, one additional wave and one additional button/buttonhole.
Modification of the sleeve length
To modify the length of your sleeves simply increase or decrease the number of Lace Chart repetitions in this instruction given on page 8:
“[…] Work next rounds as est, making the next rows of charts until you have finished X full repeats of Lace Chart counting from the beginning.”
Finish only on 12th or 24th rows of the Lace chart.
Remember that ever additional 12 rows of Lace Chart measures around 4.5 cm.
Summary
I hope you found this article helpful! Please remember that whatever you are working on, always make a swatch! And if you are not sure about the final measurements of your knitting project, do pre-blocking too – read more about it here: Pre-blocking.
If you still need my help or you are struggling with an issue not described above, I’m looking forward to your comment! Together we will come up with a solution.
Marzena


MarjorieW
About your decision to make the fronts smaller– I love this pattern but need MORE room in front then in the back. I’m trying to imagine how to make the fronts (below the armhole) wide enough, since this isn’t a design where my usual short row bust darts might be happy. You show the sweater on a fairly flat chested model, hence my concern.
marzenakolaczek
My testers have very different silhouettes – please take a look at their projects to find out how Priscilla look like on a different body shapes. I would recommend you to take a look at the all measurements and check how size, which matches your bust circumference the best, look like in other parts. Maybe you will not need to do any adjustments.