There are a few situations when I prefer using classic seam rather than invisible technique to join two pieces of knitwear. Sometimes this “old-fashioned” method has lots of advantages! Everything depends on a particular design – there is no single best solution for all projects, right?
But attaching the sleeves to the body with a needle happens to me extremely rare. In most cases I choose top-down sweater construction which gives me many options to avoid this process. I usually make them by using “live” stitches or pick the sleeve stitches up around the openings.
However this time, in the Felicia sweater, it was necessary to play with a needle a little. Why? As you can see, I chose a particular cable panel, which has a set direction and I used it on the front, back and also on the sleeves. To achieve a consistent look in each of these places (I didn’t want cables turned upside down), I had to work each piece bottom-up. This is the reason – sewing was just required to get a perfect sweater. And of course handmade sweater should be perfect, right? It goes without saying!
But, as I said, I am not afraid of sewing at all. I hope you too! But if so, I believe that after reading this post containing some tips, you will change your mind. Ready?
This tutorial is about attaching sleeves in the Felicia sweater, but you can apply these tips to any other project which needs sewing the sleeves.
What do you need?
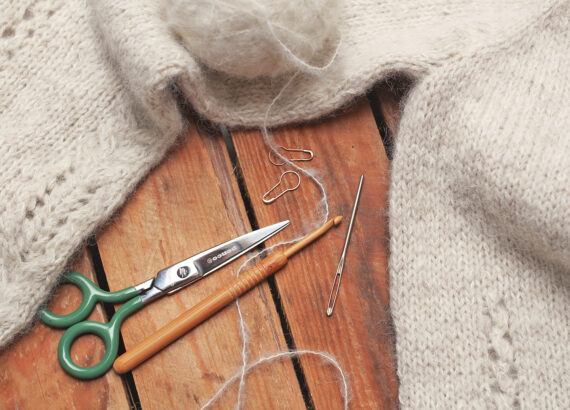
- a tapestry needle
- thread of yarn – use the same yarn as in the project
- an openable stitch marker or safety pin
- a scissors
- and your knitting project of course!
Our first step is to find out where the middle of the sleeve is. To achieve it, fold the sleeve in half, having a loose end of yarn, which remained from binding off stitches, on one of the folded edges. The opposite side is the place we are interested in! Mark it with an opening stitch marker or safety pin. In case of Felicia, you have a cable panel exactly in the middle of your sleeve, so you can skip this process and just hang the stitch marker in the middle of this panel as shown in the picture below.
Lay your body part with the front facing you and the sleeve still folded inhalf. Thread the needle, but don’t cut the thread from the ball. It’s not strictly necessary, but it makes the whole process safer – you don’t have to guess how much thread you will need for sewing.
You will start sewing from the middle of the armpit. For this project, we can use the common rule: 3 stitches for 4 rows. What does it mean? For every 3 stitches from the sleeve there should be 4 rows from the body section.
Tip!

To make sure if you can use this rule, check your gauge and calculate how many rows are there for each stitch. The ratio may be different for different stitch patterns!
On the sleeves use horizontal loops, right next to the bind off edge. You should use each loop once and use all of them. Look at the photo below:
On the body, use the edge stitches and the loops between them:
The algorithm of sewing is really simple:
Step 1: pass the needle through a loop on the sleeve.
Step 2: pass the needle through an edge stitch on the body.
Step 3: pass the needle through the next loop on the sleeve.
Step 4: pass the needle through the loop between the just used edge stitch and the next one.
Step 5: pass the needle through the next loop on the sleeve.
Step 6: pass the needle through the next edge stitch on the body.
Step 7: Pull the thread gently in order to make the seam dense but still elastic.
Repeat these 7 steps until you reach the cables. Now we have to change our algorithm a little. The reason is that the cables tighten the garment and the gauge is slightly different in this place. This means that you have to reduce the frequency of using the stitches on the body in relation to the stitches on the sleeve – in other words, you will have to skip a stitch on the body part once in a while, changing the ratio to 3:3 from regular 3:4.
There is no need for extra calculations! As it is only a short length, we can simplify the process with careful observation and modification of the algorithm during sewing.
Continue sewing skipping step 4 from time to time and checking the remaining distance to the centre of the sleeve and the centre of the arm. Remember that the place marked with an opening stitch marker should meet the shoulder seam.
Follow the same steps on the other side of the sleeve, starting with the modified algorithm while sewing the cable section, then repeating steps 1 to 7 for the remaining non-cabled piece. Make sure your seam is elastic and there is no excess loose there. Stitching thread should be invisible on the right side.
At the end, you have to cut the thread, make a tight knot to prevent loosening of the seam and weave the loose ends into the seam on the wrong side of the sweater. And it’s done! Hooray!
Quickly attach the other sleeve and you can finally wear your new sweater with a pride and adoration!
Marzena


